Custom 1×8 combo tube amp: build log #2
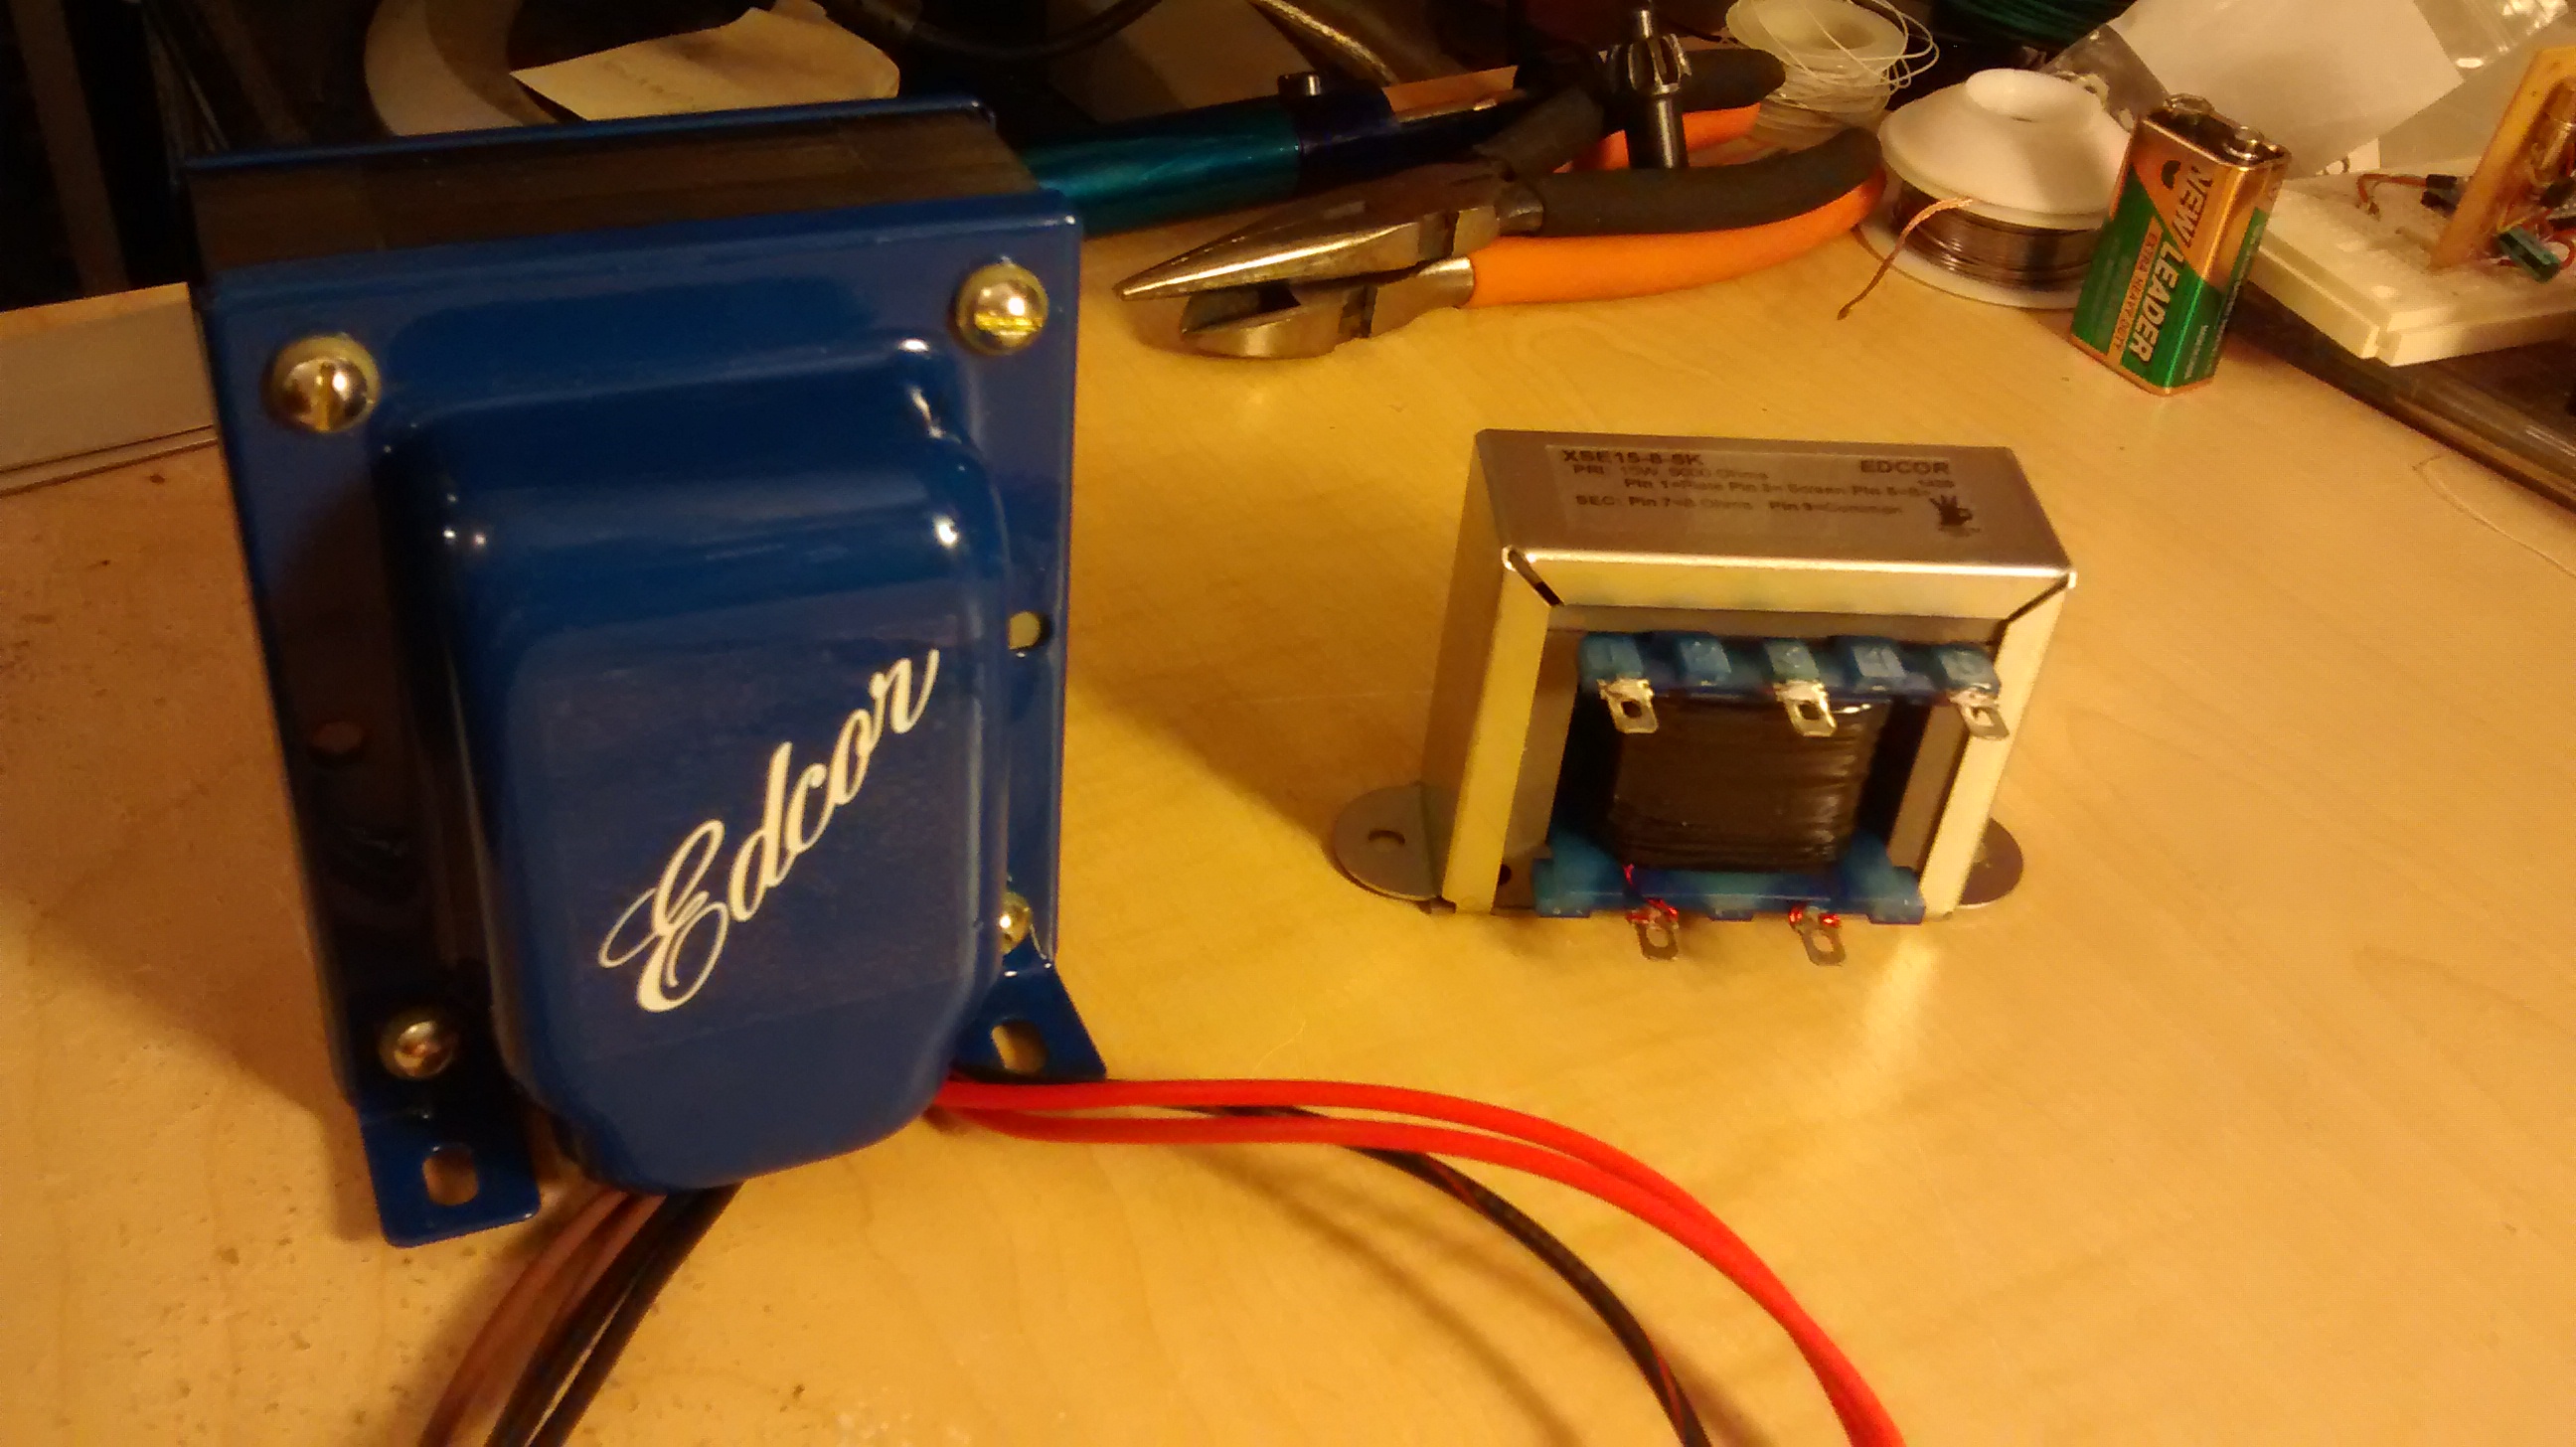
The transformers for my amp project arrived a couple weeks ago, enabling me to move forward with construction.
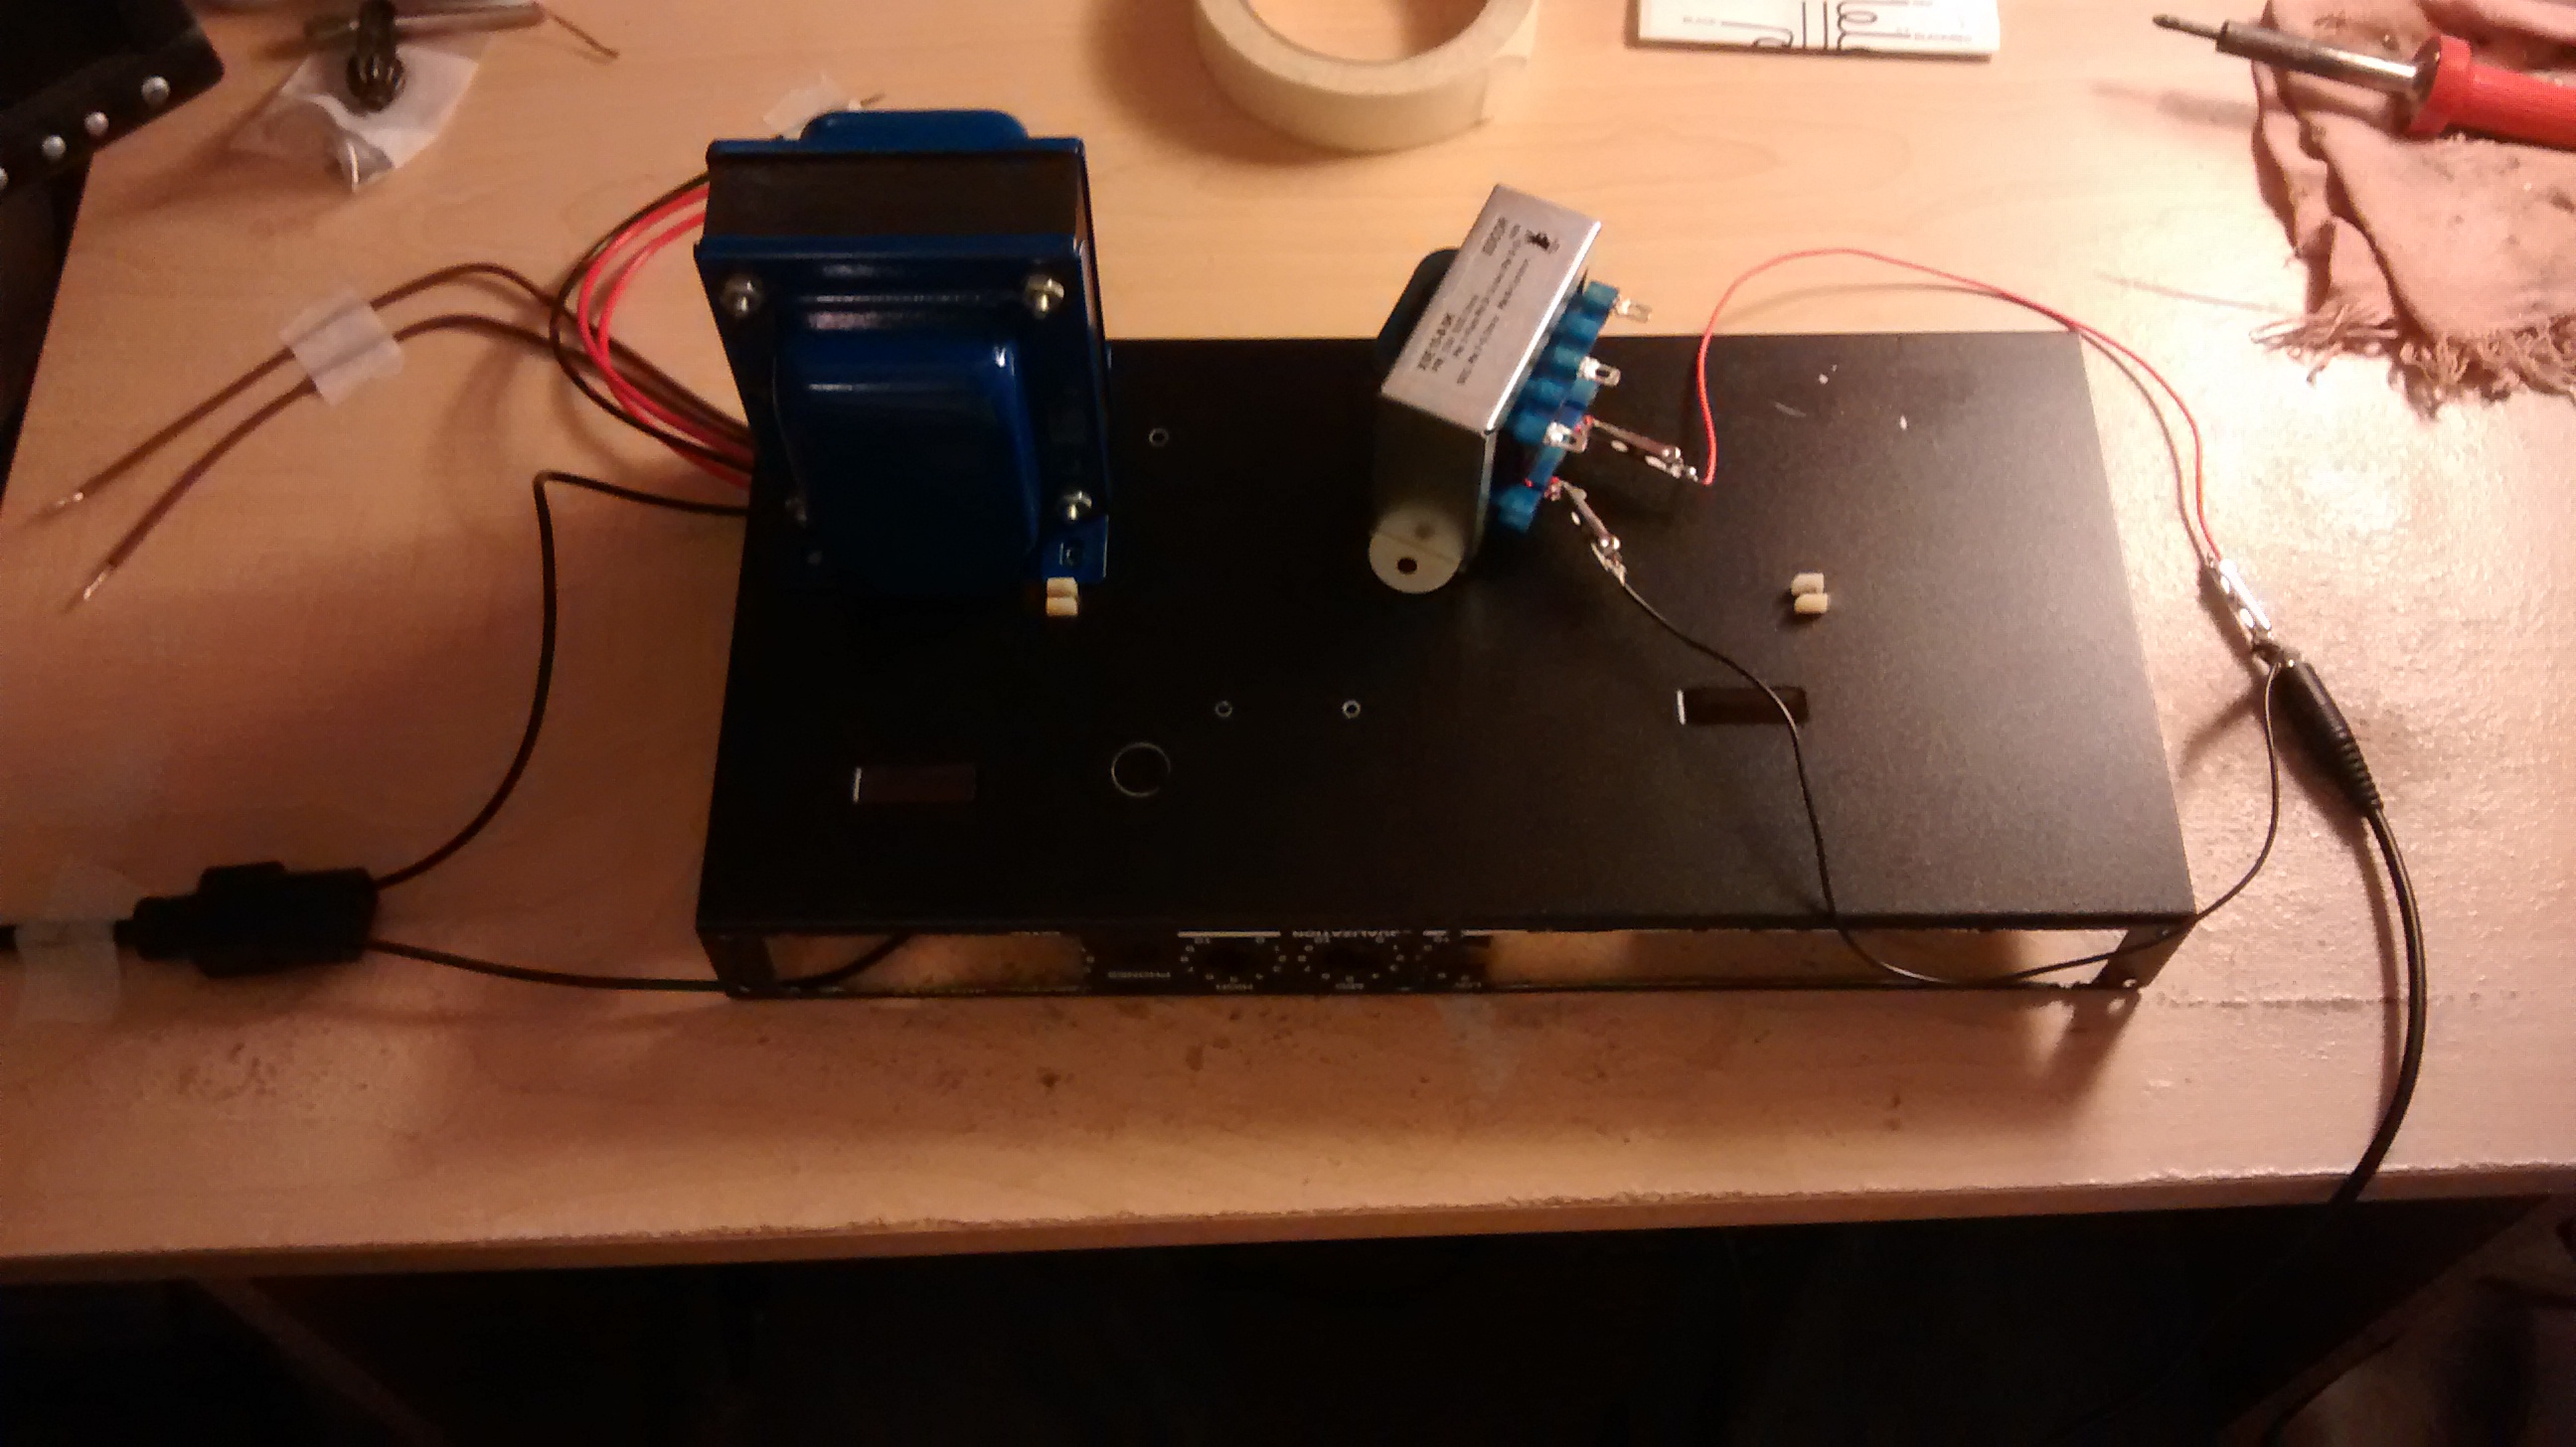
The first thing I did was find a suitable location to mount the power transformer. This turned out to be exactly on top of where the old power transformer was mounted. The hole the old transformer lived in provided a place for the new cables to come through the chassis, and there were already a few screw holes nearby that I could make use of for mounting or grounding. I noticed the hole from the old transformer was a little too small for the wires from the new transformer to comfortably fit through. They would be wedged between the power transformer and the chassis. To remedy this, I cut a notch out of the existing hole in the chassis to allow the wires to come through freely. Following this I drilled the transformer mounting holes, the hole for the IEC socket and the hole for the square fuse holder I pulled from a trashed Carvin amp.

Now that a location for the power transformer has been chosen, I can pick a suitable location for the output transformer. It should ideally be placed in a location where the magnetic field from the power transformer will interact with it the least, to reduce hum. The trick to finding this location is to connect mains power to the power transformer, then connect headphones to the secondary of the output transformer. With the headphones on, you should be able to hear any hum transferred to the output transformer through your headphones now. No other connections are necessary, just the mains connection to the power transformer. Move the output transformer around until you find a location where you hear the least hum, or none at all if you’re lucky. Be VERY VERY CAREFUL when doing this and make sure the secondary wires are secured safely or you could shock/incinerate/blow up something (including yourself). I taped the secondaries to my desk and made sure they were spaced so as not to arc between each other accidentally.
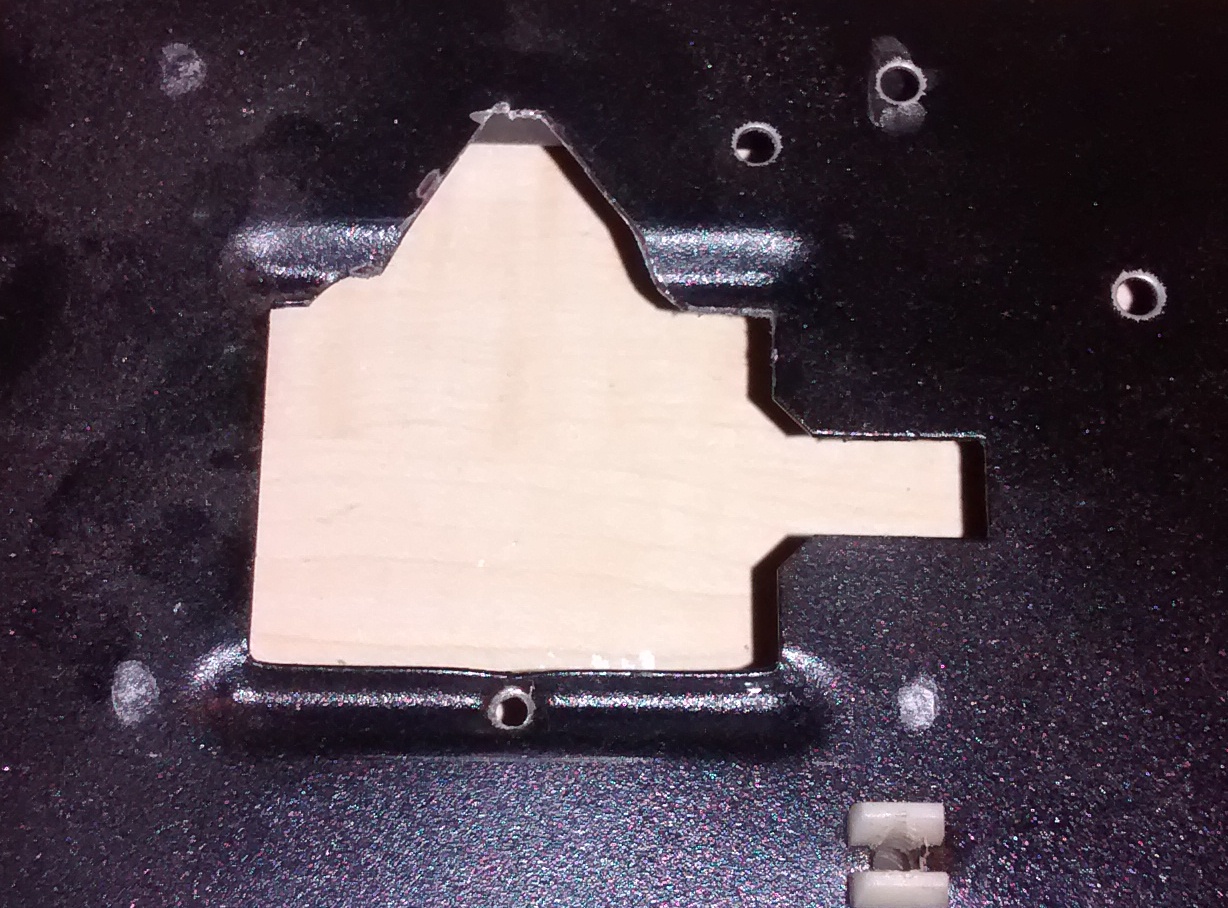
I found a suitable spot and marked where the mounting holes of the output transformer would be. The next thing I did was find locations for the tube sockets. I wanted the output tube to be close to the output transformer, and located in such a way that the wires going to the socket would cross as few others as possible. The preamp tube socket should go closer to the input circuit. The photo below shows the locations I chose. The red marker is where the amp speaker would extend to when the amp is placed in the cabinet. The 6L6GC tube is tall enough to run into the speaker if it were located closer to the front of the amp, which we definitely don’t want!
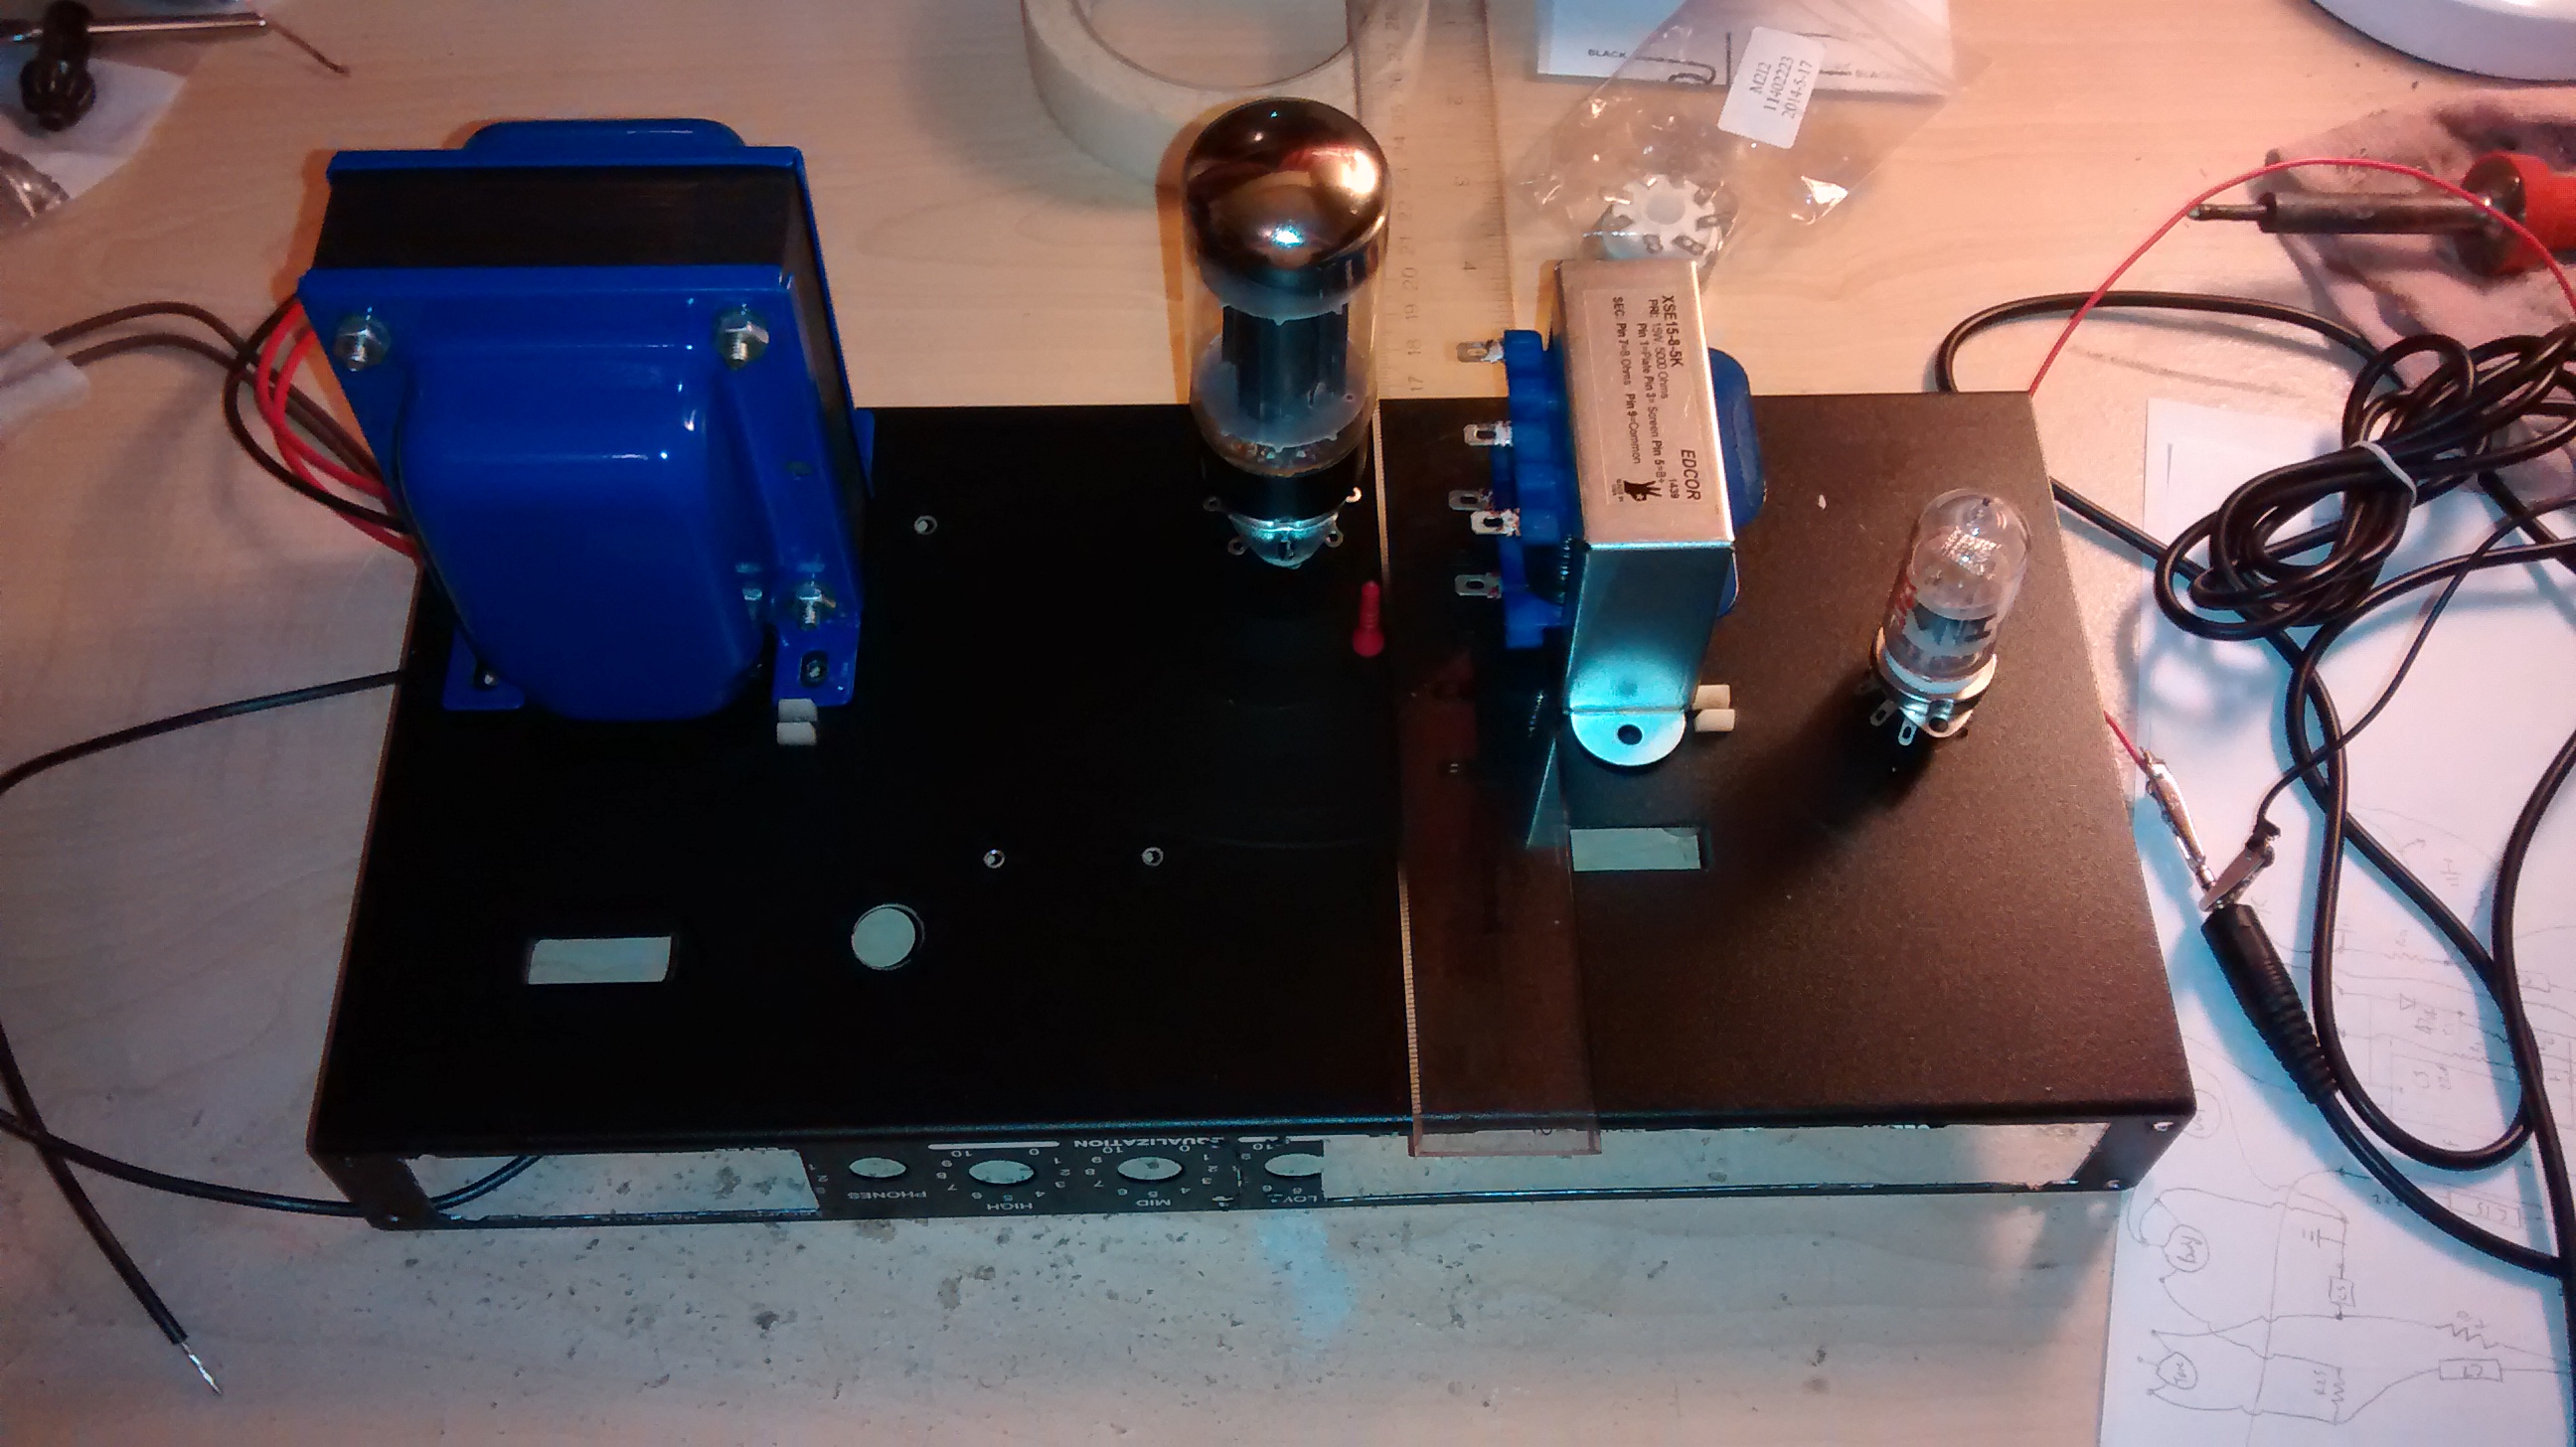
Next I cut out holes for the sockets and drilled holes for mounting screws/rivets. I cut out a hole beneath the terminals of the output transformer where the wires could run in and out. The holes for my sockets look a little… ugly, because I made them with a Dremel tool instead of “proper” hole cutting equipment. I cut an octagon shaped hole for the output tube, and a square hole for the preamp tube.
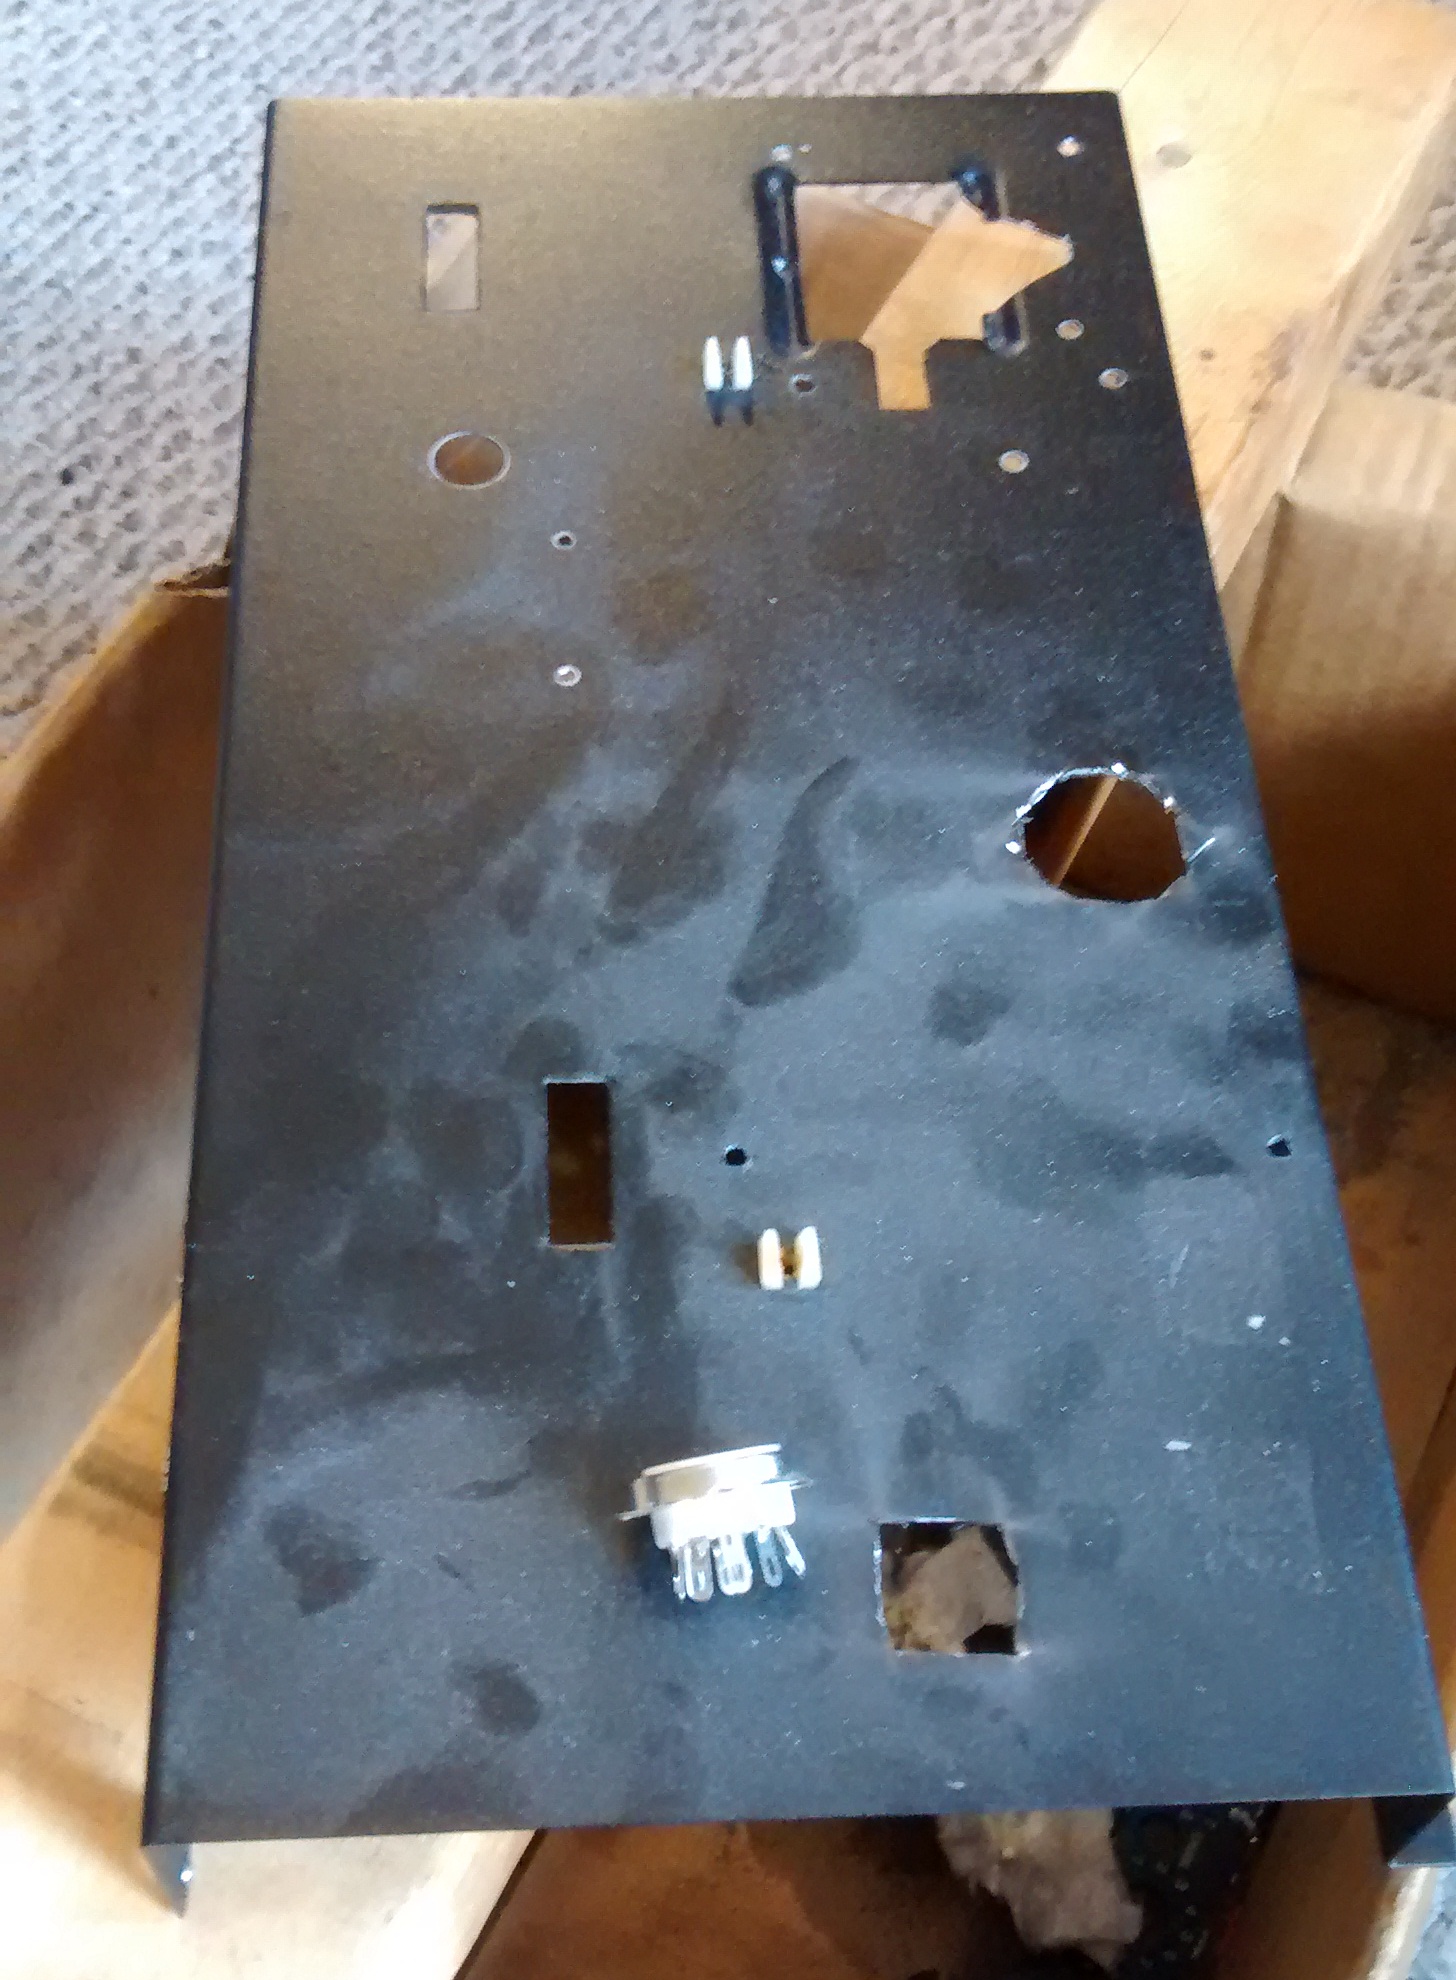
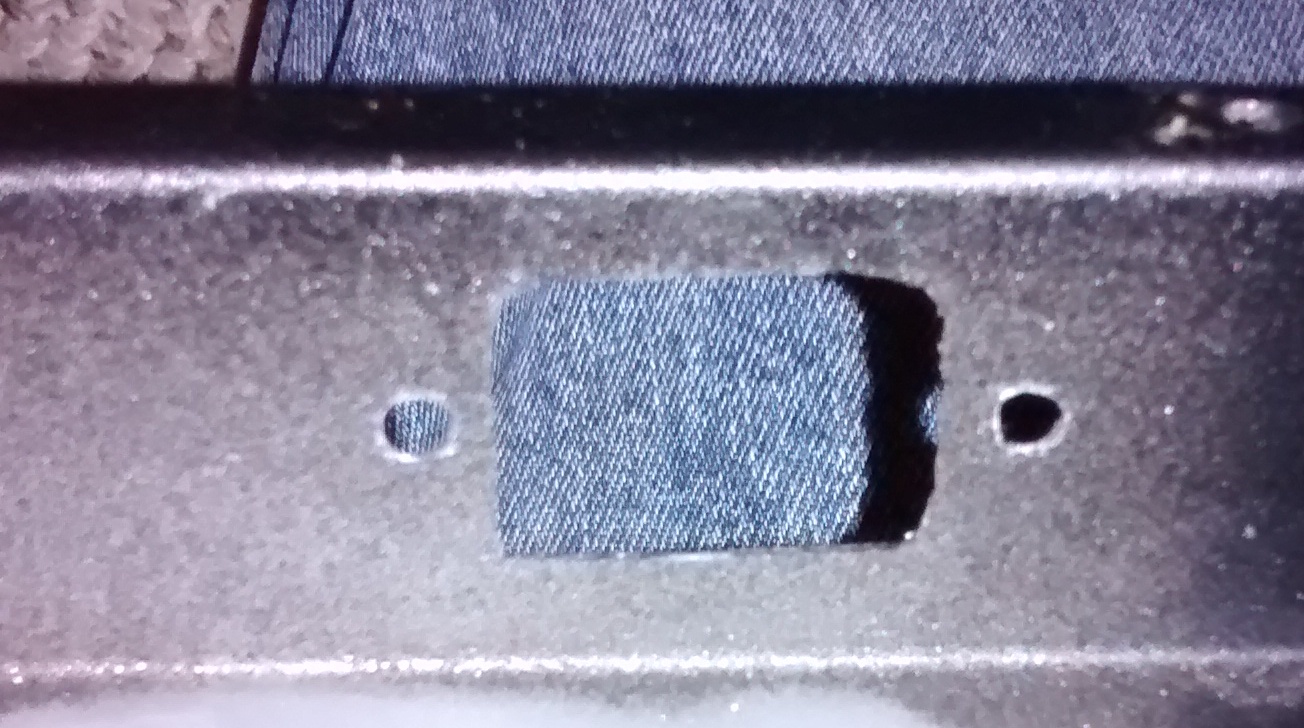
Following that, I marked where my terminal strips should go in the chassis and drilled those mounting holes. The last hole I drilled was for the speaker jack on the rear of the amp.
That’s enough cutting and drilling for now. The rear of the amp looked a little ugly at this point, what with the former Peavey print and various holes smattered about. I decided the print should go, since this is no longer a Peavey amp! I roughed up the old paint with some sandpaper, and grabbed my trusty metal primer and red metal paint. After a couple coats of primer followed by a few coats of paint, I discovered a problem. The white print that was on the back of the amp had a sort of displacement effect on the paint, causing it to run off and not stick where the print was. The photo below looks white as I applied yet another coat of primer on top of the paint in the hopes I could “cover up” the problem. Not so. As you can see, it looked awful.
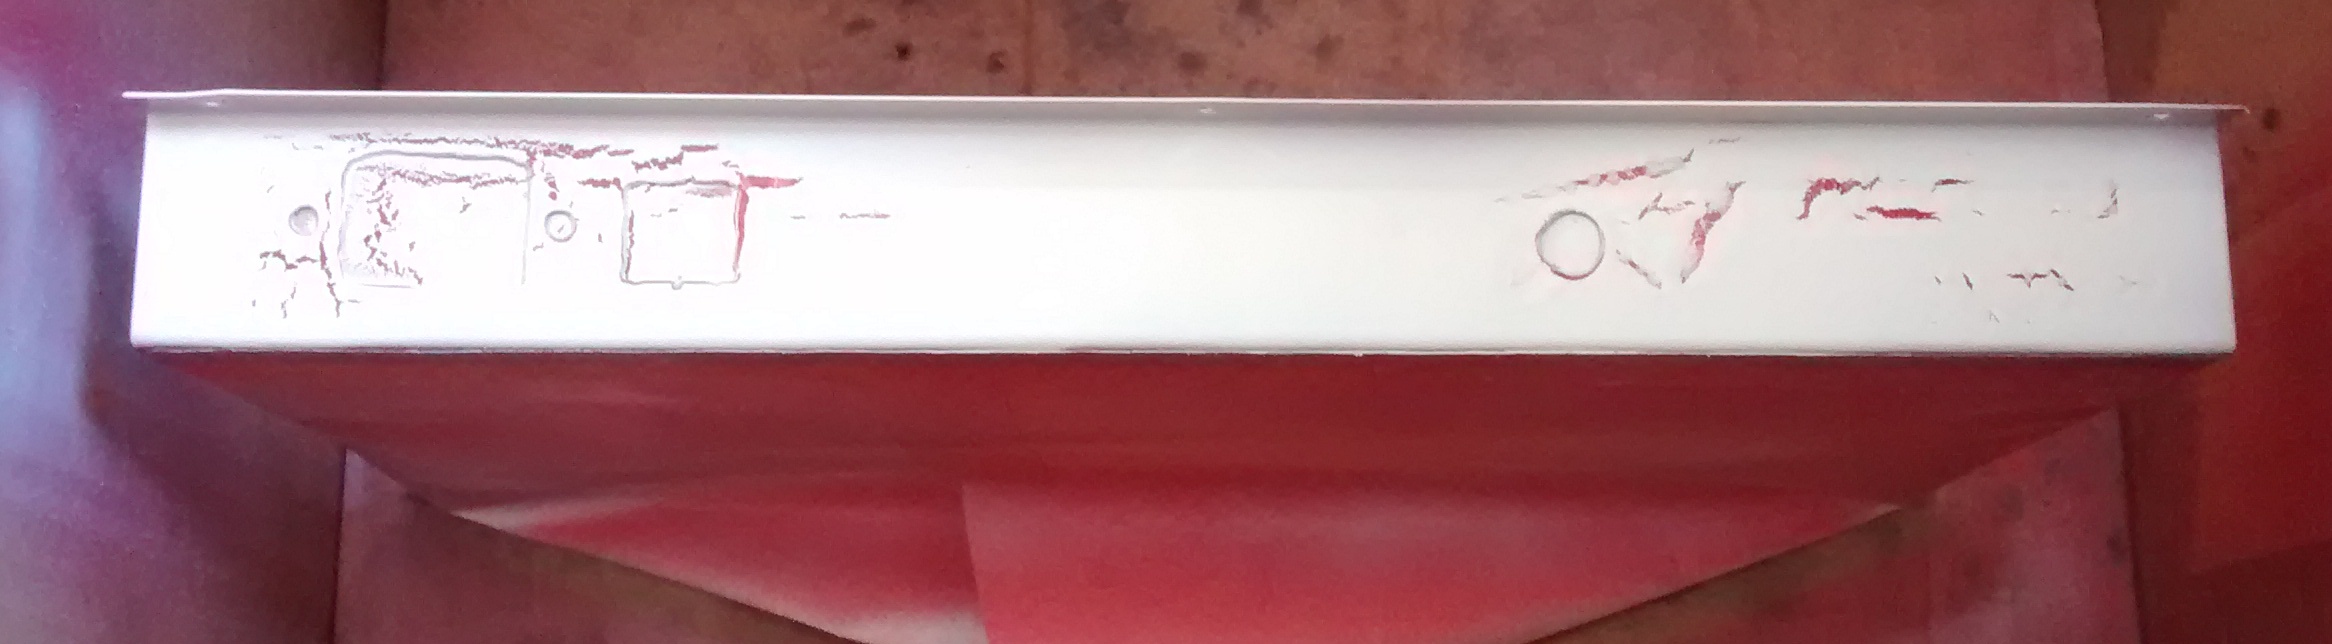
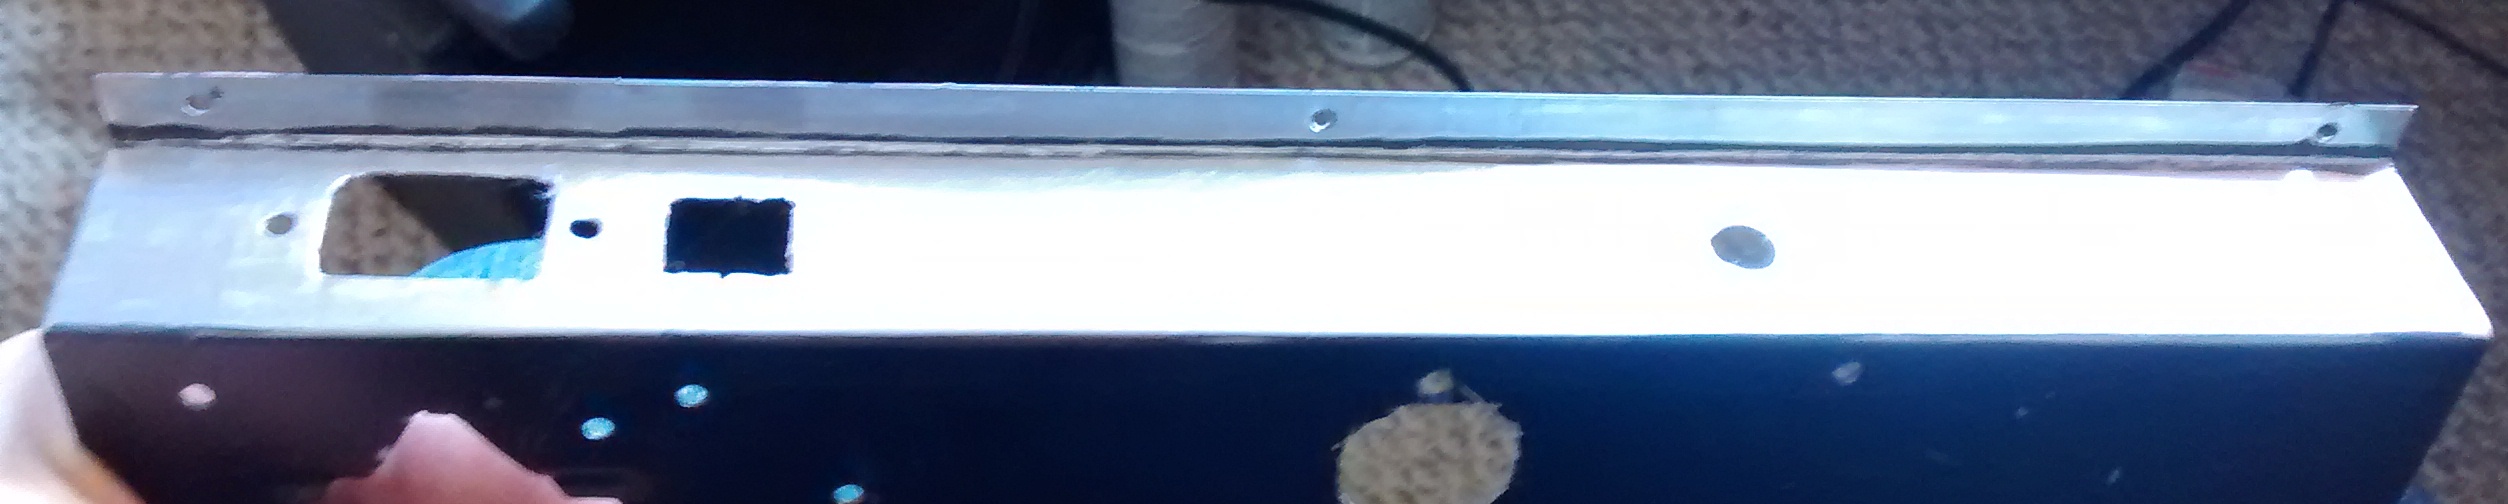
Time to do it again. I scraped most of the paint off with a screwdriver (I’m working with a very limited tool set here), and took the rest of the old black paint and Peavey print off with the Dremel sanding tool. I should’ve just done this to begin with, since it really didn’t take very long and my paint was the “straight to metal” type. I decided to use only the plain white primer this time, sans red paint. White goes with the nice blue power transformer a whole lot better than red, and it would be easier to write and read labels on.

That’s it for now, in the next log I’ll actually start putting the guts in!


Pretty cool, but my main concern is that it seems like you are using a laminated output transformer, without any air-gap, in a class-A configuration. These output transformers are designed for push-pull class-AB configurations, where there isn’t any DC bias over the primary. Using the wrong kind of output transformer in a class-A amp will saturate the field way too easily, and performance will suffer more and more the higher the volume gets.
Class A amps need special output transformers with an air-gap to prevent quick saturation, but it also contains more iron to compensate for the reduced inductance.
The output transformer I’m using is the Edcor XSE15-5K, formerly called XSE15-8-5K which you can see in some of the photos. It is designed specifically for single-ended output.